
Quick overview
Breast augmentation recovery is moderate in scope: most patients return to desk work within 5 to 10 days, can shower at 48 hours, and resume light cardio by week 2 to 3. Full exercise — including chest and upper-body work — typically resumes between weeks 4 and 6. The implants take about 3 months to settle into their final position and shape, a process surgeons call "drop and fluff."
The first 48 hours are the most uncomfortable. Pain peaks day 2, drops sharply by day 5, and patients are usually off prescription medication within a week. The dominant sensation is tightness and pressure, not sharp pain — the tissues are accommodating an implant they did not previously contain.
This guide walks through week-by-week recovery, what is normal versus what should trigger a call to your surgeon, and how the implant position and shape evolve over the first year.
Week 1 — tightness, surgical bra, sleeping upright
The first week is dominated by chest tightness and the awkwardness of sleeping at an incline. Expect:
- Pronounced chest tightness and a feeling of pressure, especially in the upper chest where the implants sit highest right after surgery
- Wearing a surgical bra or compression band 24/7. Some surgeons use a strap that sits above the implants to help them settle into the lower pocket.
- Sleeping at a 30- to 45-degree angle (recliner or stacked pillows) for at least 1 to 2 weeks. Flat sleeping increases swelling and pressure.
- Limited arm range of motion: no overhead reaching, no lifting heavier than 5 lbs
- Pain managed with prescription medication for the first 3 to 5 days, then over-the-counter
Showering is typically cleared at 48 hours per ASPS recovery guidance. Most patients can drive, dress, and do light tasks by day 4 or 5 — though anything requiring arm strength is off-limits.
Week 2 — back to work, easing arm motion
Most patients return to desk work between days 5 and 10. By the end of week 2:
- Off prescription pain meds
- Arm range of motion expanding (gentle reach up to shoulder level)
- Tightness softening; implants may still sit high
- Walking 30 to 45 minutes a day comfortably
Driving returns once you are off opioid medication and can comfortably brace for a quick maneuver — usually around day 7. Surgical bra continues full-time.
This is also when most patients have their first follow-up visit, drain removal (if drains were used), and detailed instructions about scar care and surgical bra weaning.
Weeks 3 and 4 — light cardio, the "drop and fluff" begins
By the start of week 3, most surgeons clear:
- Light cardio (walking briskly, stationary bike, elliptical without arm involvement)
- Driving on opioid-free days
- Full overhead range of motion
- Lifting up to 10 lbs
You will start to notice the implants beginning to "drop" — they shift downward into the lower pocket as the tissues stretch and relax. The fullness in the upper chest decreases; the lower pole fills out. This is the start of "drop and fluff."
Heavy lifting, push-ups, anything that engages the chest muscles strenuously, and contact sports remain off-limits.
Weeks 5 to 8 — full exercise, shape clarity
Most surgeons clear at week 4 to 6:
- Resistance training (back, legs, glutes, biceps)
- Yoga (with care on poses that compress the chest)
- Running
- Most non-contact sports
Chest exercises (push-ups, bench press, chest flies) typically remain off-limits until week 6 to 8 to give the implant pocket time to fully stabilize. Surgeons differ — confirm with yours.
By week 6, most patients are out of the surgical bra and into supportive sports bras for exercise. The shape is approaching final but the upper-pole fullness is still settling.
Months 3 to 6 — drop and fluff completes
The "drop and fluff" process — implant settling into the natural pocket and tissues stretching to allow lower-pole projection — completes between months 3 and 6 for most patients. ASPS guidance describes this as the implants moving "from a high, tight position to a more natural lower position" over about 3 months.
You will typically see:
- Final shape crystallizes around month 3 to 4
- The upper pole softens and becomes less full
- The lower pole rounds out as the tissues stretch
- Scar maturation continues for 12 to 18 months — initially red, then pink, fading to a thin pale line
- Nipple sensation changes are common in the first 6 months; most patients regain full sensation over 6 to 12 months. A minority of patients have permanent sensation changes.
Month 12 and beyond — what stays, what doesn't
By month 12, the result is essentially final:
- Shape stops changing
- Scars are at their lightest
- Sensation has largely returned
- The implants behave as a long-term part of your anatomy
Modern implants (both silicone and saline) have approximately 10- to 15-year median lifespan before any replacement consideration, though many patients keep them indefinitely without issue. The FDA recommends MRI or ultrasound monitoring of silicone implants at 5 to 6 years post-op, then every 2 to 3 years thereafter to screen for silent rupture. (Saline implants don't need this — a rupture is immediately visible as deflation.)
Red flags — when to call your surgeon
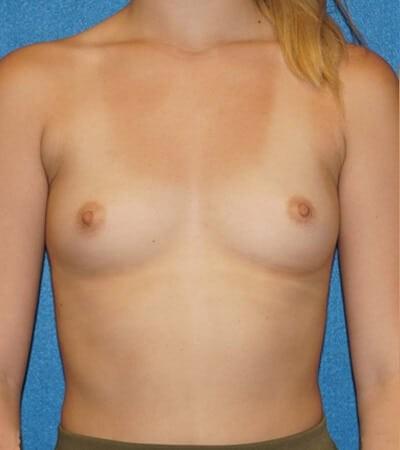
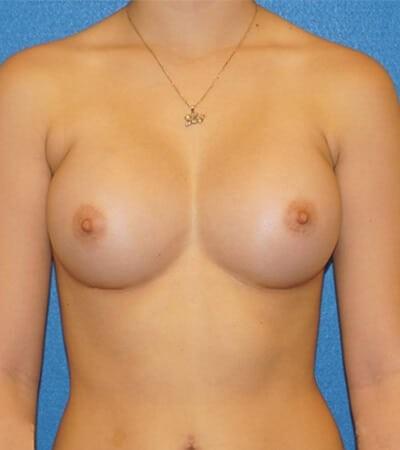
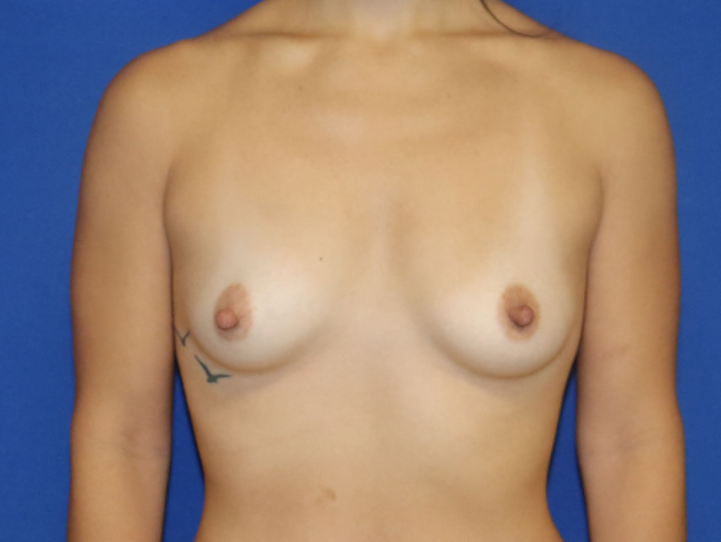
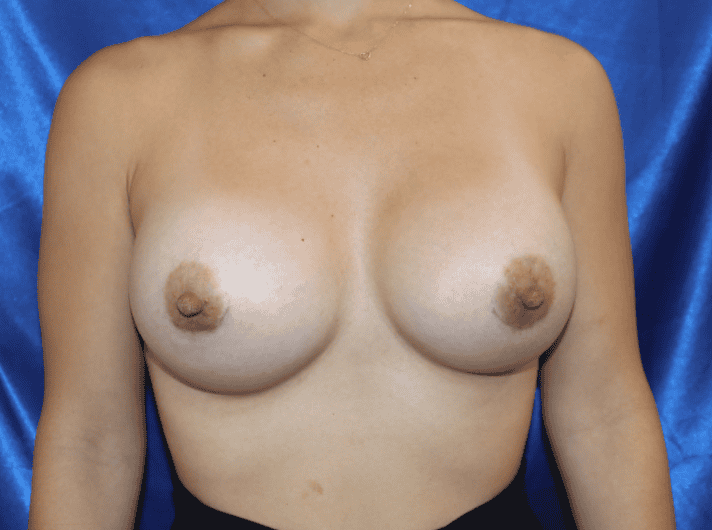
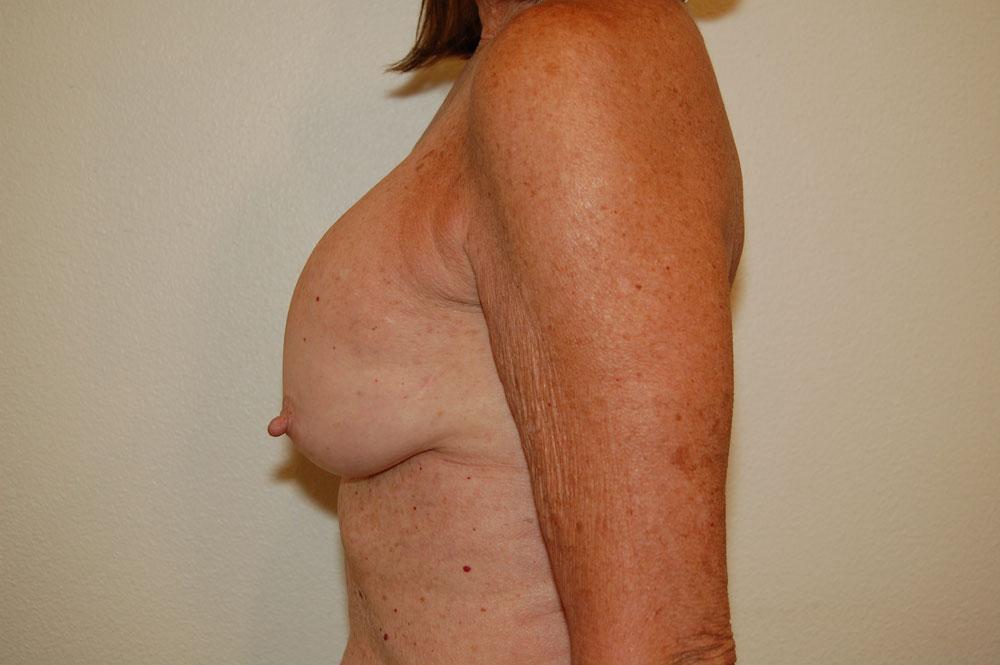
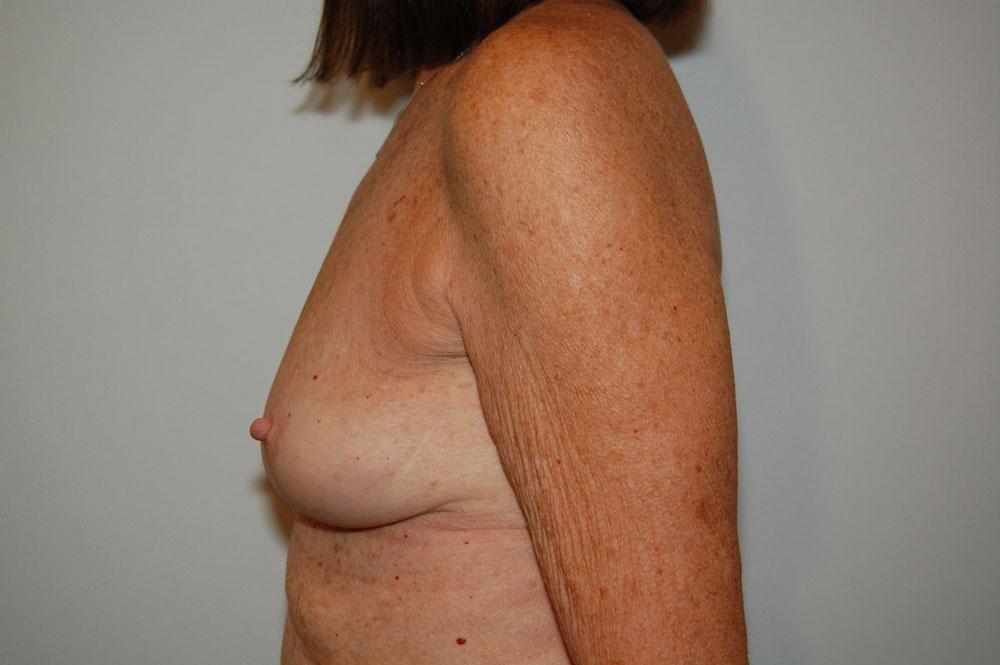
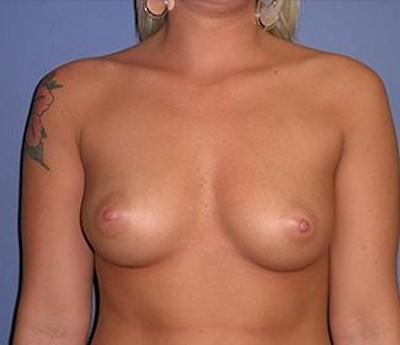
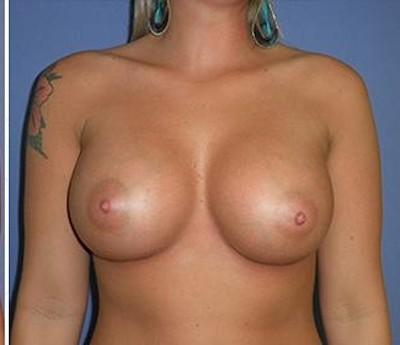
Real patient results
From verified board-certified surgeons in our directory.
Find a board-certified breast surgeon
Get matched with verified breast augmentation surgeons in your area.
Mild asymmetry, gradual change in shape during "drop and fluff," and temporary nipple sensation changes are all normal. The list above is for the smaller set of complications that need urgent attention.
Tips that meaningfully affect your result
The factors that move the needle:
- Wear the surgical bra as prescribed. Compliance supports the implants in their early settling and minimizes complications.
- Sleep elevated for the first 2 weeks. Flat sleeping increases swelling and slows initial healing.
- No nicotine — vapes, gum, patches — for 4 weeks before and 4 weeks after surgery. Nicotine is the single biggest predictor of wound healing problems and capsular contracture.
- Massage as prescribed by your surgeon (if at all — some explicitly recommend against it for textured implants). Surgeons have specific protocols; follow yours.
- Be patient with shape. The implants do not look "right" at week 2. They will not look "right" until month 3 to 4. Photograph the same angles monthly to track progress.
- Sun protection on incisions for 6 months. UV pigments the scar, making it more visible.
Cost factors
Breast augmentation cost reflects implant type (silicone is more expensive than saline), surgeon experience, surgical facility, and geographic market. Implants themselves account for a meaningful portion of the cost.
Recovery costs beyond the surgical fee:
- 1 to 2 weeks off work
- Surgical bra ($50 to $150)
- Prescription pain medications
- Possible massage protocol per surgeon
- Replacement bras as you settle into the new size
For pricing by city, see our breast augmentation cost guide.
How to choose a breast augmentation surgeon
The five questions that matter most:
- Are you board-certified by the American Board of Plastic Surgery? Non-negotiable.
- What implant type and incision approach do you recommend for my anatomy, and why? Silicone vs saline, submuscular vs subglandular, inframammary vs periareolar vs transaxillary — each has trade-offs the surgeon should explain.
- Can you show me one-year before-and-after photos of patients with starting anatomy similar to mine? Six-week photos are still settling; one-year is the real reference.
- What is your revision rate, and what is your policy on capsular contracture? Capsular contracture is the most common reason for revision; a transparent policy matters.
- Where will surgery be performed, and who administers anesthesia? Accredited surgical facility with a board-certified anesthesiologist or supervised CRNA.
Compare board-certified breast surgeons
Get matched with verified breast augmentation surgeons in your area.
This article is for educational purposes and does not replace medical advice. Always consult a board-certified plastic surgeon for guidance specific to your case.